How to Sew a Unique Insulated Tortilla Warmer
Keeping your tortillas warm on the table will no longer be a problem! With this step-by-step sewing tutorial, you will quickly learn how to DIY the best insulated fabric tortilla warmer.
You can make it with the fabric and design of your choice. Perfect either for personal use, as a gift or even to add one more item to your sales portfolio.
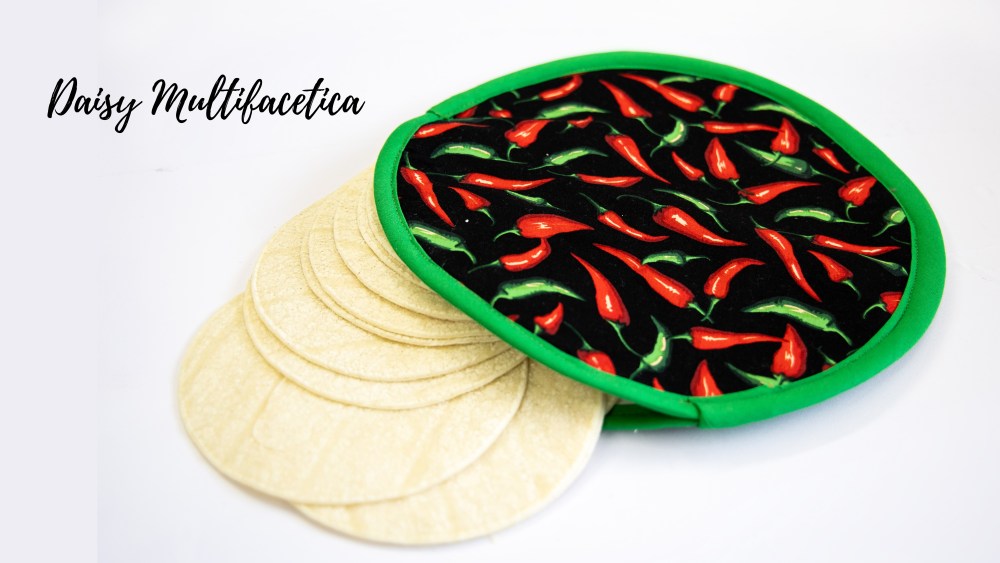
I will be using 100% cotton fabric with a chili pepper design that I bought on Amazon. Bias tape of two thicknesses that I made myself [tutorial on how to make bias tape here] and Bosal brand Poly-Therm Fleece that I also bought on Amazon.
List of Materials to DIY an Insulated Fabric Tortilla Warmer
- 4. 10” by 10” Fabric – Chili pepper design from Amazon
- 2. 10” by 10” -Poly-Therm Fleece Bosal
- 2. 14” Bias Tape 1” – Bias tape tutorial
- 1. 23” Bias Tape 1 1/4” – Bias tape tutorial
- Tape measure – Inches and Centimeter.
- Sewing machine
- Scissors
- Thread clippers
- Clips
- Sewing pins
Instructions
How to Sew the Best Fabric Tortilla Warmer Video Tutorial
Step 1: DIY The Best Fabric Tortilla Warmer
Prepare the fabric according to the measurements on the material list.

Lay a 10″ by 10″ piece of fabric right side down. Then a piece of Poly-Thern Fleece reflective side up and a 10″ by 10″ piece of fabric on top. 3 layers: Fabric, Poly-Therm Fleece and Fabric.

This last fabric can be of another color, I am using white cotton fabric. This is the liner inside the tortilla warmer.

Do the same with the other three remaining layers of fabric. Secure the sets of three layers with pins, then cut out 10″ diameter circles. I am using a 10″ dinner plate.


Step 2
Sew around leaving a 1/4″ allowance.

Measure 3″ down the circle and mark on both sides.

Step 3
As I mentioned at the beginning, you could buy the bias tape already made or you could make it yourself. Sometimes it is difficult to find the thickness needed, so I like to make it myself. Tutorial on how to make your own bias tape HERE. It is super easy and you can do it with the needed measure and with the colors of your preference.

Take the 1″ bias tape, fold it in half and iron to create a center crease.

Sew the bias tape to the edge of the circles from one mark to the other.

Both circles should look like this.

Align, pin the two circles together and set aside while we prepare the 1 1/4″ bias tape.

Step 4
Take the 1 1/4″ bias tape. Fold the corners on both sides of the tape to form a triangle and iron it. Then fold the bias tape in half and iron to create a crease. Just like we did with the first bias tape

Then sew the 1 1/4″ bias tape together to join the two circles. Leaving the opening.

Start an inch above the bias tape already sewn to hide the ends.

¡Voila! The Best DIY Insulated Fabric Tortilla Warmer
And just like that! The DIY fabric tortilla warmer is finished. This one will keep your tortillas warm for much longer since the filling is made of Bosal brand Poly-Therm fleece.

I hope you have enjoyed this tutorial on how to make the best DIY fabric tortilla warmer.

Please don’t forget to support my blog and YouTube channel by subscribing and liking. This way you are helping me to continue working and publishing tutorials like this one. Thanks in advance.
follow me on the following social network and share your projects inspired by my blog.
Enjoy Sewing!!
By Daisy Multifacética

Welcome!
This is Daisy from Daisy Multifacética Blog and YouTube Channel. I am passionate about creating a variety of projects at home. One day I can be doing crafts, another day sewing a garment, customizing items, working with wood, painting, designing custom images or cooking for my family.
My days are definitely not routine but I enjoy them to the fullest doing what I love the most.
It gives me joy to be able to share my knowledge with you through my tutorials and feel blessed to know that they are helpful to you.
Daisy
¡¡Hola Bienvenidos!!
Soy Daisy del blog y canal de YouTube de Daisy Multifacética. Como algunos de ustedes saben, me encanta hacer manualidades. Me apasiona crear una variedad de proyectos en casa. Un día puedo estar haciendo manualidades, otro día cosiendo una prenda, personalizando productos, trabajando con madera, pintando, diseñando imágenes personalizadas o cocinando para mi familia.
Definitivamente mis días no son rutinarios, pero los disfruto al máximo haciendo lo que más amo.
Me alegra poder compartir mis conocimientos con ustedes a través de mis tutoriales y me siento bendecida de saber que son útiles para ustedes.
Daisy
“Creativity is intelligence having fun“
Albert Einstein
Subscribe to My Blog
- All Posts
- Baking – Cooking – Cocina
- Birthday DIY Cumpleaños
- Books – Libros
- Boxes – Cajas
- Cards DIY Tarjetas
- Carpinteria – Woodwork
- Christmas – Navidad
- Christmas Decorations – DIY
- Craft for Business – Manualidades para Negocio
- Craft Software Tutorials – Programas
- Craft Tutorials
- Cricut Crafts & Tutorials
- Custom Items DIY Pesonalizados
- DTF
- Easter – Pascua
- Embroidery – Bordado
- Fabric Face Masks
- Fall Decor – Otoño
- Flowers – Flores
- Free Patterns – Patrones
- FREE SVG PNG Designs – GRATIS
- FREE SVG | PNG | Cutting Files
- Gifts
- Graduation
- Halloween
- Halloween crafts
- Home Decor
- HTVRONT
- Kitchen
- Laser Engraver
- Latino Hispanic
- Loklik
- Metal Stamping
- Mugs
- Navidad
- Profitable Business – Negocio Rentable
- Recipes – Recetas
- Reviews
- San Valentin
- school craft
- Screen Printing
- Sewing
- sewing patterns
- Sewing Tutorial – Costura
- Shipping Ideas
- Small Business – Pequeños Negocios
- Sublimation
- T-Shirts – Camisetas DIY
- Templates
- Thank You Cards
- Valentine's Day

Is the xTool Printer Worth It for Small Apparel Businesses?
The xTool Apparel Printer offers a promising solution for custom apparel business owners, addressing the limitations of traditional methods. Its automated maintenance, ease of setup, and capability to print vibrant designs on various fabrics make it a strong option for both beginners and established entrepreneurs. Initial print quality impresses, enhancing business potential.

HTVRONT A100 Review: The Ultimate 3-in-1 Heat Press System
HTVRONT A100 Auto Multi Heat Press Review | My Experience Using This 3-in-1 Heat Press for Hats, Tumblers, DTF & Sublimation If you run a custom products business, you already know how quickly your workspace can become crowded with multiple heat presses for different projects. One machine for shirts. Another one for tumblers. Another one…

Unlock Creative Potential with the PYDLife V20 Sublimation Oven
Why the New PYDLife V20 Sublimation Oven Is a Total Game Changer for 3D Sublimation If you’ve been in the sublimation world for a while, then you already know how important it is to have equipment that not only works well, but also saves time, allows bulk production, and opens the door to more creative…